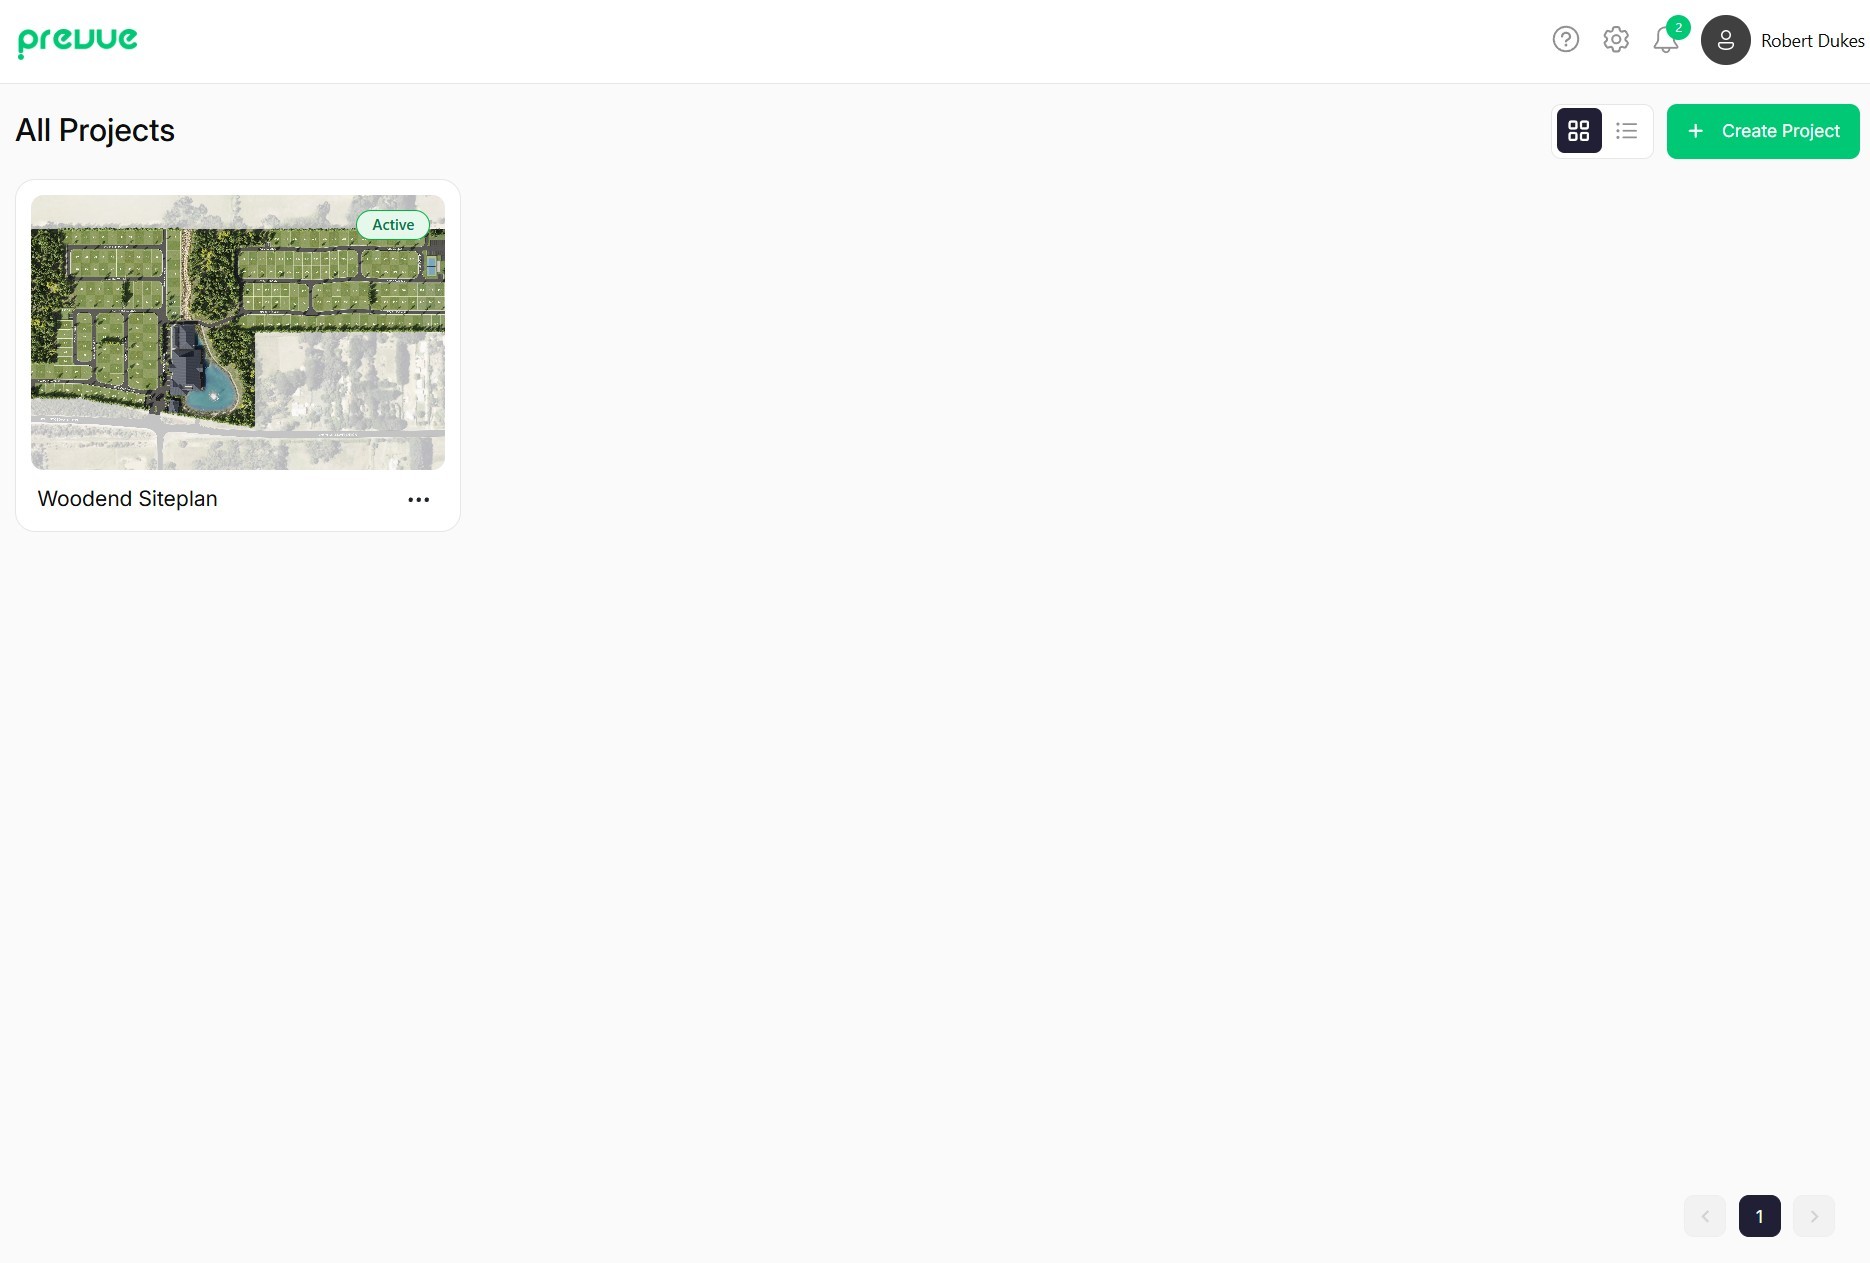
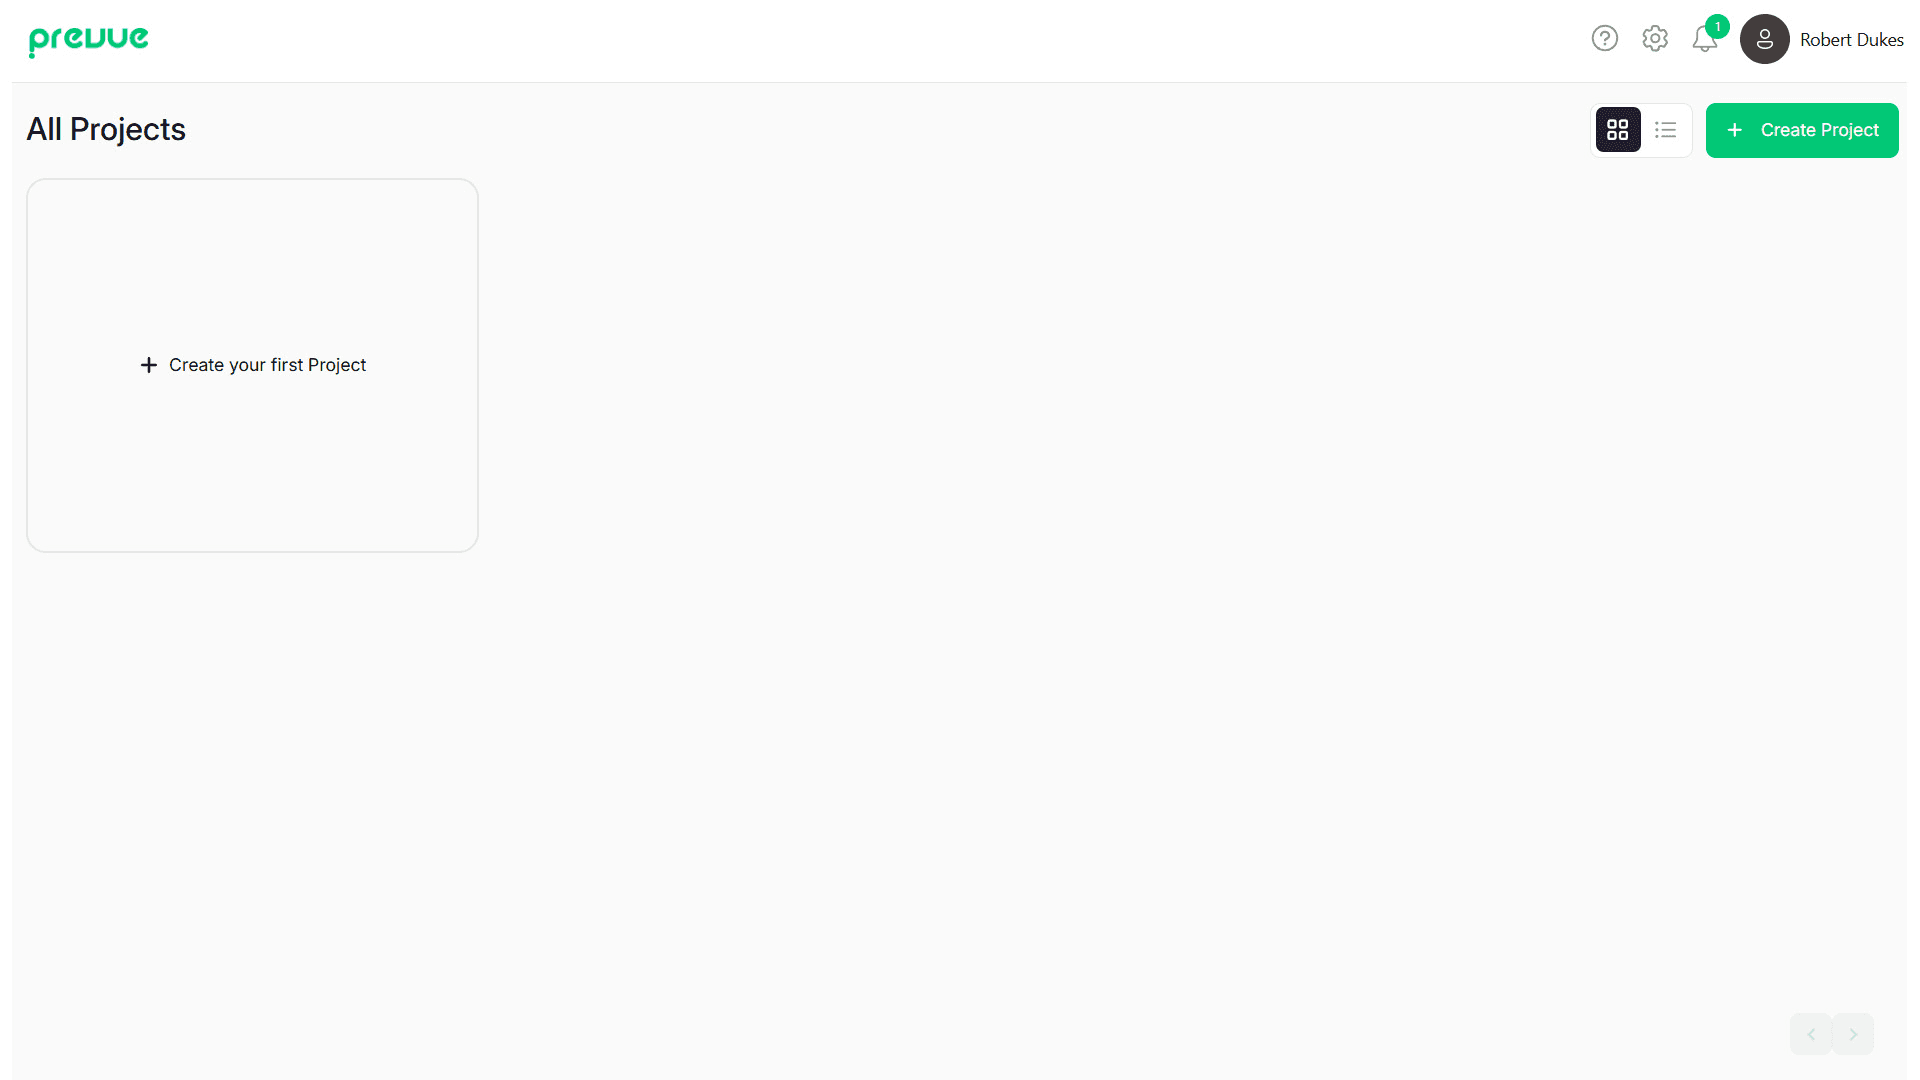
🖥️ User Dashboard
Once you log in, you’ll land on your Dashboard — the central hub for all your projects.
To get started, click the "+ Create your first Project" card.
Alternatively, use the "+ Create Project" button in the top-right corner of the page.
This will take you to the "Create a New Project" screen.
🆕 Create a New Project
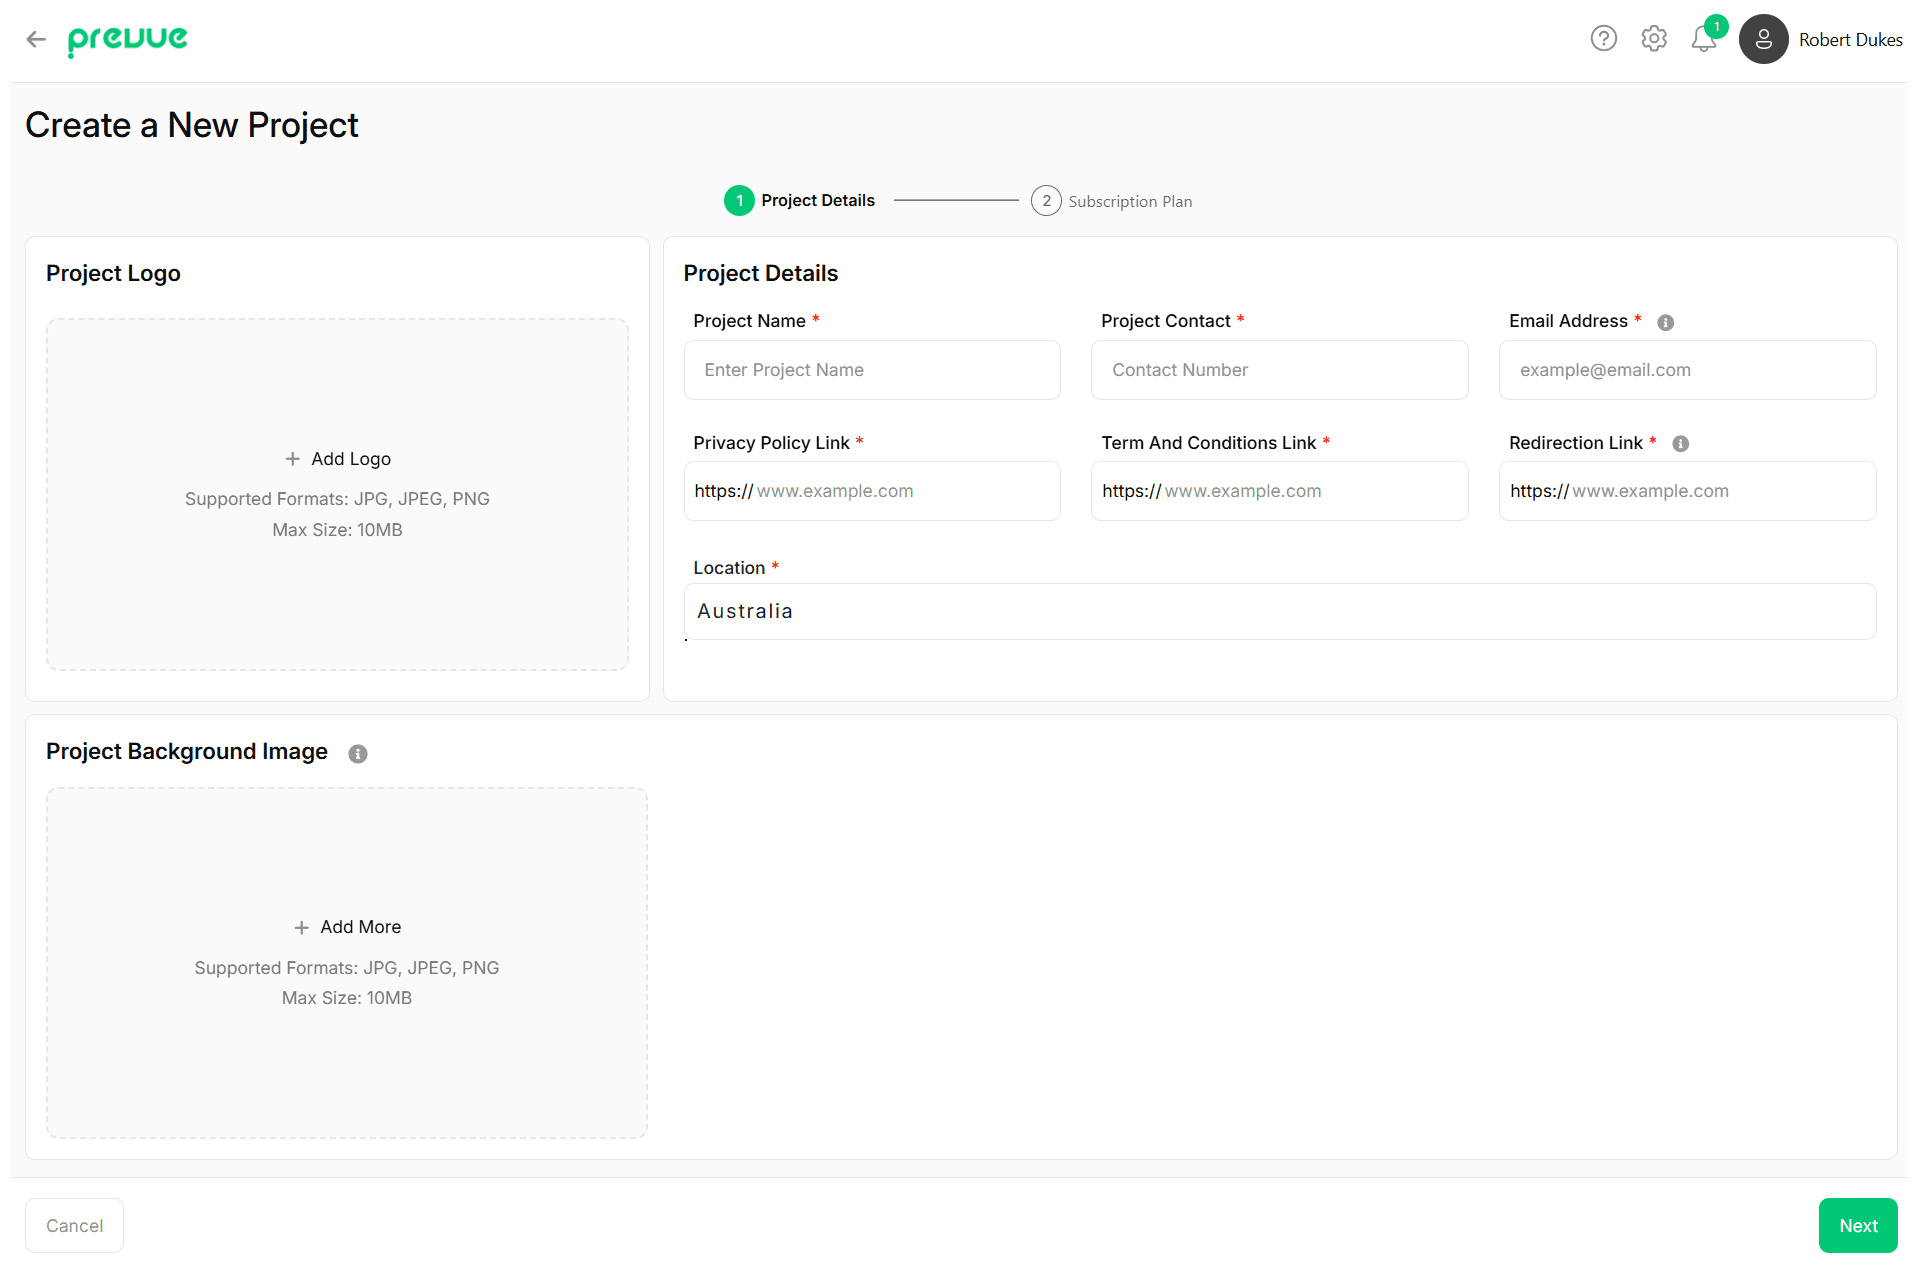
On this page, you'll enter the key details for your project. Once complete, click "Next" to choose a subscription plan.
Option | Description |
Project Logo | Upload a logo that appears in the top-left of your live viewer. |
Project Name | The title of your project, shown on your dashboard and in shareable links. |
Project Contact | A phone number for handling enquiries related to the project. |
Email Address | The email where all enquiries from the viewer will be sent. |
Privacy Policy Link | A link to your privacy policy, shown on the enquiry form. |
Terms and Conditions Link | A link to your terms and conditions, also shown on the enquiry form. |
Redirection Link | Optional link that opens when users click the logo in your viewer. |
Location | General location of your project. |
Project Background Image | The main image used as your interactive canvas. |
Image Name | A label for your background image — useful for multi-image projects. |
💳 Select a Subscription Plan
Choose the plan that best fits your project's needs.
Each new project starts with a 7-day free trial, giving you time to explore features and set everything up.
After selecting a plan, click Next.
If your chosen plan includes a payment, you’ll be securely redirected to the Stripe checkout to complete your purchase.

🎉 Project Created
That’s it! Your project is now set up.
Return to your dashboard and click on the new project card to begin adding data points and customizing your interactive image.